
Today I'm sharing how I made this card using the April Stitching Die of the Month. I just love this cute "Wall Hanging". You could also make a shaped card which would be so pretty.
This set is only available at Spellbinders from 4/6-4/27 at a lower price as part of a club subscription. The club can be canceled anytime by the 5th of the following month. If there are still sets available, they can be purchased on 5/10 at a slightly higher price, if still available. Spellbinders Club info can be found here.
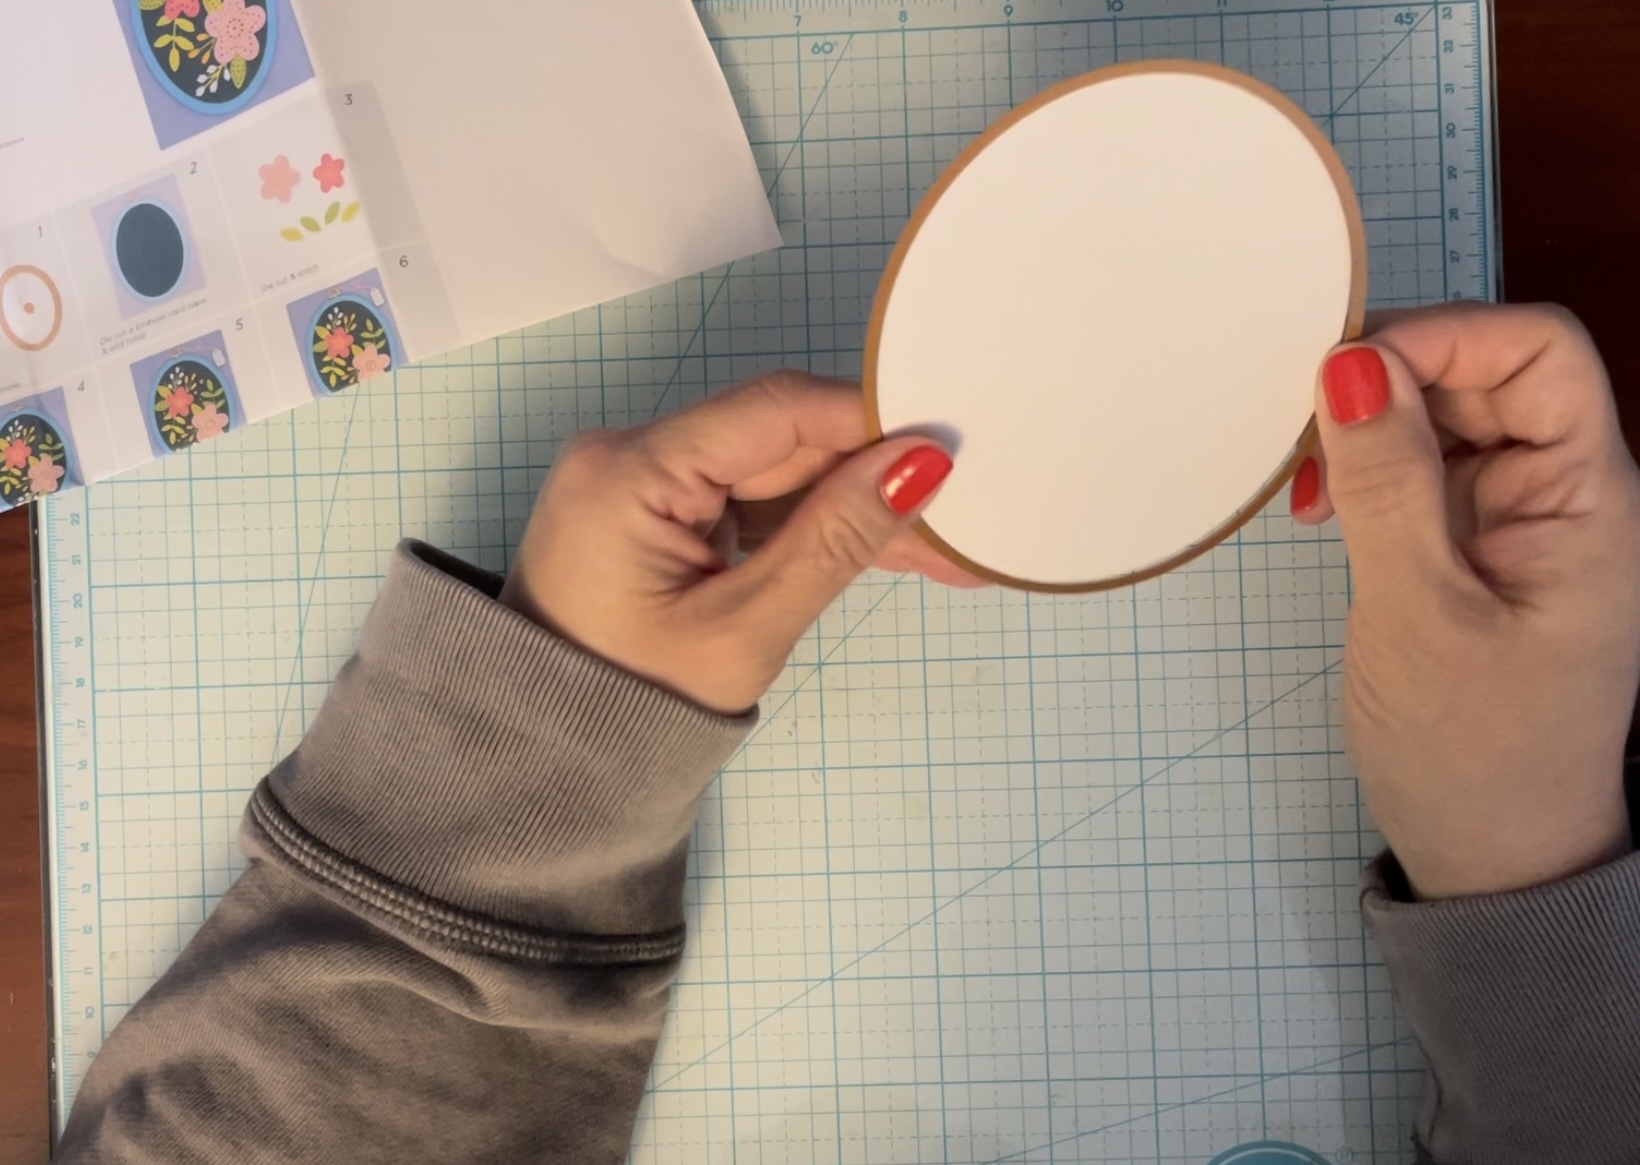
Cut the largest oval from Neenah Solar White cardstock. This will be the base.

I used Distress Oxide Inks in Tumbled Glass, Salvaged Patina, Chipped Sapphire and Black Soot.

The 3 oval dies put together will cut a frame. I cut this from kraft cardstock 3x and stacked them together. They need to be taped together to get the same cut so they stack evenly.
I diecut the small and large stitched flower dies 2x and glued them together, just for stability. This is optional but keeps them from bending or rips while stitching.

The lines for the stitching are embossed into the paper. I just did a straight stitch from the edge of the petal to the edge of the circle in the middle, all the way around.

The center of the flower is cut once from yellow cardstock, I decided to use clear small beads instead of stitching, but it can be done either way. I used 1 strand of yellow thread and a regular sewing needle, the hole of the bead needs to pass over the eye of the needle. The beads are around the outer edge of the circle. With the needle, come up through a hole, attach a bead and go through the same hole. The bead will stay in place. Repeat all the way around.

For the center of the circle, I used a sequin with a hole in the center. I pulled the needle up throught the center, slid the sequin and another clear bead onto the needle, then put the needle back through the center of the seqin, it will stay in place. Knot in the back.

Pick up the stitched flower and pull the needle through the top of the center of the flower, attaching the beaded piece. Knot the thread on the back of the flower, put a dot of glue there.

Here's a closeup of the completed flowers.

For the stitched leaves, I used a straight stitch. Again the lines where the stitching goes are embossed onto the paper.
All the rest of the pieces are regular diecuts. I attached the frame to the inked oval. I arranged my diecuts and glued them to the base. I used a few pop dots to raise my stitched flowers up.
I took a white A2 card and embossed the front with the Tiled embossing folder and attached the framed piece.
That's it for today! Lised below are the supplies used with links to the products. Using these links help me to provide this content, so thank you for using them.
Supplies:
Spellbinders Stitching Die of the Month (available from 4/6-4/27 at the club price (cancel at any time) available on 5/10 as a single purchase but at a higher price.)
http://shrsl.com/4hd8q [Spellbinders Store]

Neenah Solar White Cardstock
http://shrsl.com/4hd91 [Scrapbookcom Store]
Spellbinders Tiled Embossing Folder
http://shrsl.com/4hd94 [Spellbinders Store]

Distress Oxide Inks
http://shrsl.com/4hd96 [Spellbinders Store]
Artis Glue
http://shrsl.com/4hd98 [Scrapbookcom Store]

No comments:
Post a Comment