Click on the photos below to go to these stores:


Hello Fall! I'm excited to see all the lovely fall colors in cards. This is the September Stitching Die of the Month for Spellbinders. If you're not familiar with the Spellbinders Clubs, learn more HERE.
This is a big die. I decided a big die needed a big card, so I made a 5x7" card and placed 2 of the sunflowers on it. I did minimal stitching here, just the top layer has stitching on both flower. That's what makes the Stitching die so versatile. There's solid dies included with a stitcheable die that is inserted into the outiline die.
With my card above, you can see there's the solid die behind the stitched die. You could easily make the whole thing solid and have a great looking sunflower. There are stitching dies included for the leaves and the center of the flower, but I decided to just stitch the petals. This took me no time to make, I stitched while I watched "The Perfect Couple" on Netflix.
I diecut all the pieces first and lightly inked the edges with Distress ink. It added a bit of interest and dimension. I used Mustard Seed on the flower and Forest Moss on the leaves. I diecut 1 extra layer for each flower and glued it together, just to make it sturdy.
For the flower in the forefront, I glued the solid layer directly on the card front. Then I used pop dots to pop up the stitched flower. I think that makes a big difference but certainly not necessary.
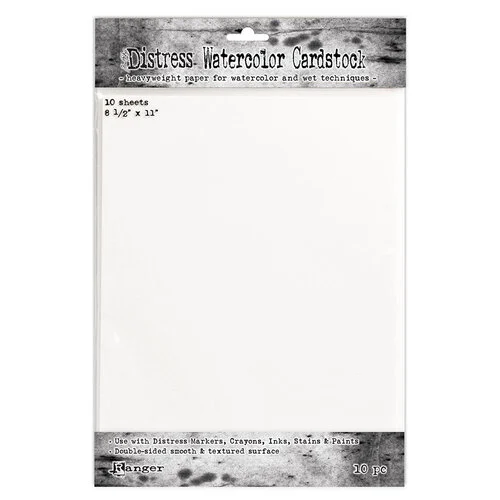
I should tell a bit about the blue background. I took a piece of Distress Watercolor Cardstock and cut it to 5x7". I used the textured side of the paper, which I rarely do, but I like it for a background, adds a bit of interest. I misted the paper, put some Brutus Monroe Aqua Pigments on my craft mat and pulled the paper through, dried it, then dipped it again, dried it, just to get some pretty layers.
After it was dry, I put a heavy book on it to flatten it out. The pretty dew drops are no longer available, they were from Studio Katia, which I think is no longer in business.
That's it for today here's the Supply List with clickable links. If you use my link to make a purchase, I receive a small commission. Thank you for letting me know my work here is useful.
SUPPLIES:
September Stitching DOM
This is such a fun card! I used Spellbinders "Stitched String Lights" from the Stitched Bright Collection, see it HERE.
You can add the stitching, which I chose to do, or skip it by using the solid die. You could use pretty colored glitter paper for the bulbs, or inked paper, whatever you like. Spellbinders has so many stitching dies, there's also a Stitching Die of the Month Club, which I have used in the past, check out those on my blog.
I started with black cardstock and embossed it with the "Layered Holiday Lights" embossing folder. This one pairs well with these dies.
I decided on using bright colors for my bulbs and used closely matching thread, separating the 6 strands of the thread into 3 strands and just doing a simple straight stitch. I used some of the yellow craft tape to secure the thread on the back. I also diecut an extra solid layer of the bulb to the back, just so it was easier to adhere to the card.
I decided to foil the sentiments for extra sparkle. They are BetterPress plates, so you could just ink the plates if you so choose.
I added a few sequins for a fill in, just a little festive.
Thats it for today, listed below are the supplies I used with my links to go directly to stores that sell the product. Using my links to make a purchase let these stores (and me) know you find my content worthwhile and allow me to continue providing content.
Supplies:
Layered Holiday Lights Embossing Folder & Stencil

Hello! Today I'm using more diesets from the Storytelling Scrapbook Collection by Spellbinders, you can see the whole collection by clicking HERE. Even though it's a scrapbooking collection, I used the dies for a card. This would be a great dieset for a page on a Disney trip but look how sweet this image is for a little girl! Birthday or tooth fairy?
I started with a white card, I ink blended some Distress Oxide inks in shades of blue, then spattered the card with some silver metallic watercolors.
The best thing about these small dies is I always go to my scrap file first. I have hanging folders for a drawer, they plastic and each is in a different color. So the yellow folder has yellow scraps, blue has blue scraps, etc. I have one folder that holds black scraps and all the metallic paper scraps. I find this helps me use my scraps up, less waste.
The metallic paper scrap I used, I'm pretty sure, is from Your Paper Insider. You can click HERE to check out what they have. The pink glitter paper is from Spellbinders, linked below.
'Magic' is cut 2x from regular pink cardstock, then once from the glitter cardstock and glued together for extra dimension. I did partial diecutting using the 'Magic' shadow die on a diagonal.
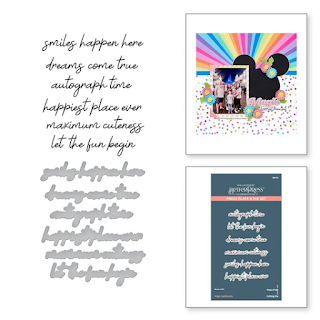
"dreams come true" is from a BetterPress set called "Magic Sentiments", of course, I hot foiled it. I love the holographic foil, I'll link it below. The fairy was cut once from scraps, then popped up with pop dots.
SUPPLIES with clickable links, if you use my link to make a purchase, it lets the stores (and me) know that you find my content useful!
Dancin' Fairy Twinkle