Tuesday, August 27, 2019

Gold Embossed Altenew Flowers


I've seen so many beautiful cards with gold heat embossing on dark cardstock, I decided to give it a try. Here I took the Altenew Pen Sketched Flowers set and arranged the stamps around the edge of the cardstock. I used VersaMark watermark ink and then used gold embossing powder. I like to do one stamp at a time so I don't make a mess with the gold powder, accidently bumping it.

I colored the leaves and flowers in with Faber-Castell Polychromos. I used several shades of blue and 2 shades of green. I then highlighted a few areas with the white pencil on the flowers, I used a light yellow on the leaves for accent.

I then matted the cardstock on gold cardstock and attached the entire thing to a regular white card, finished size is 5x6.5".

I diecut the Happy Birthday 2x,once in the blue cardstock, once in the gold and glued them together using Gina K Connect Glue, which has a nice fine tip.


Monday, August 26, 2019

Altenew Pen Sketched Flowers

This set from Altenew is called "Pen Sketched Flowers". It's so beautiful with a number of flowers, buds and leaves, so many different ways of how they can be used.

I decided to frame the card with leaves coloring it all in with Copic markers. I usually either leave the background plain or watercolor it in but I was watching a baseball game and didn't feel like getting up and getting brushes and water out!


I'm entering this in Altenew's August Challenge:

https://altenewblog.com/2019/08/03/how-to-video-august-2019-inspiration-challenge-with-may-sukyong-park/


Here's a photo of the color Copics I used.

Tuesday, July 30, 2019

TIM HOLTZ PRODUCTS

I didn't even realize how many Tim Holtz products I had until I made this card. This Sizzix 3D Botanical embossing folder is so gorgeous I bought it twice. LOL. I embossed it on heavy white cardstock and then ran MementoLuxe "Peanut Brittle" ink over the raised parts.
I diecut the "Wildflower Stems 2" out of watercolor paper and then painted the diecuts with watercolors. Nothing fancy just very quickly. I tied the stem with some b/w string and now wish I had used red/white for a little pop of color. I was going to use the Tim Holtz clipping stickers but instead thought of the wordbands I have in a box on my desk. I stuck my hand in and "Capture Life's Moments" came out. And on my desk is my junk journal just waiting for me to embellish the cover. I may use this for the cover or I still may glue it to a card, Either way, I love it.


Monday, July 29, 2019

A COLORFUL BOUQUET

I often just make backgrounds and leave a pile of them on my desk. This works for me, I'll periodically get inspired by this "to do" pile. 
I took a distress ink cube in "Mowed Lawn" and ran it over this Spellbinders "Tropical Leaves" embossing folder and ran in through my BigKick. The ink gets pressed into the nooks and crannies.

I also keep a box of images I stamped and didn't use or experimented with. Here is the Altenew "Beautiful Day" flower. Luckily I had a few in different colors.
The red flower had Sunshine Yellow Flower Soft in the center. I glued some in the center of the other 2 flowers I had in my stash. The butterfly is the Sizzix Tim Holtz thinlit butterfly. I cut the outline in black and the wings from a scrap of alcohol in yupo I had leftover. The sentiment, "made with love" is from Hero Arts "Everyday Sayings", a great a purpose sentiment set.

That's all for now, please leave me a comment!


Friday, July 26, 2019

Coloring SSS Floral Mix Background

I stamped the Simon Says Stamp "Floral Mix Background" stamp on a piece of watercolor paper in a beige ink. I then used several medium types, Polychromos colored pencils, Copic Markers, and Watercolors on the flowers. I tend to color like this, starting with one thing, maybe not having the right shade in marker or pencil, adding something else, or giving a light wash over the whole flower to soften the pencil or marker strokes. Just becareful not to muddy the tip of your expensive Copics.

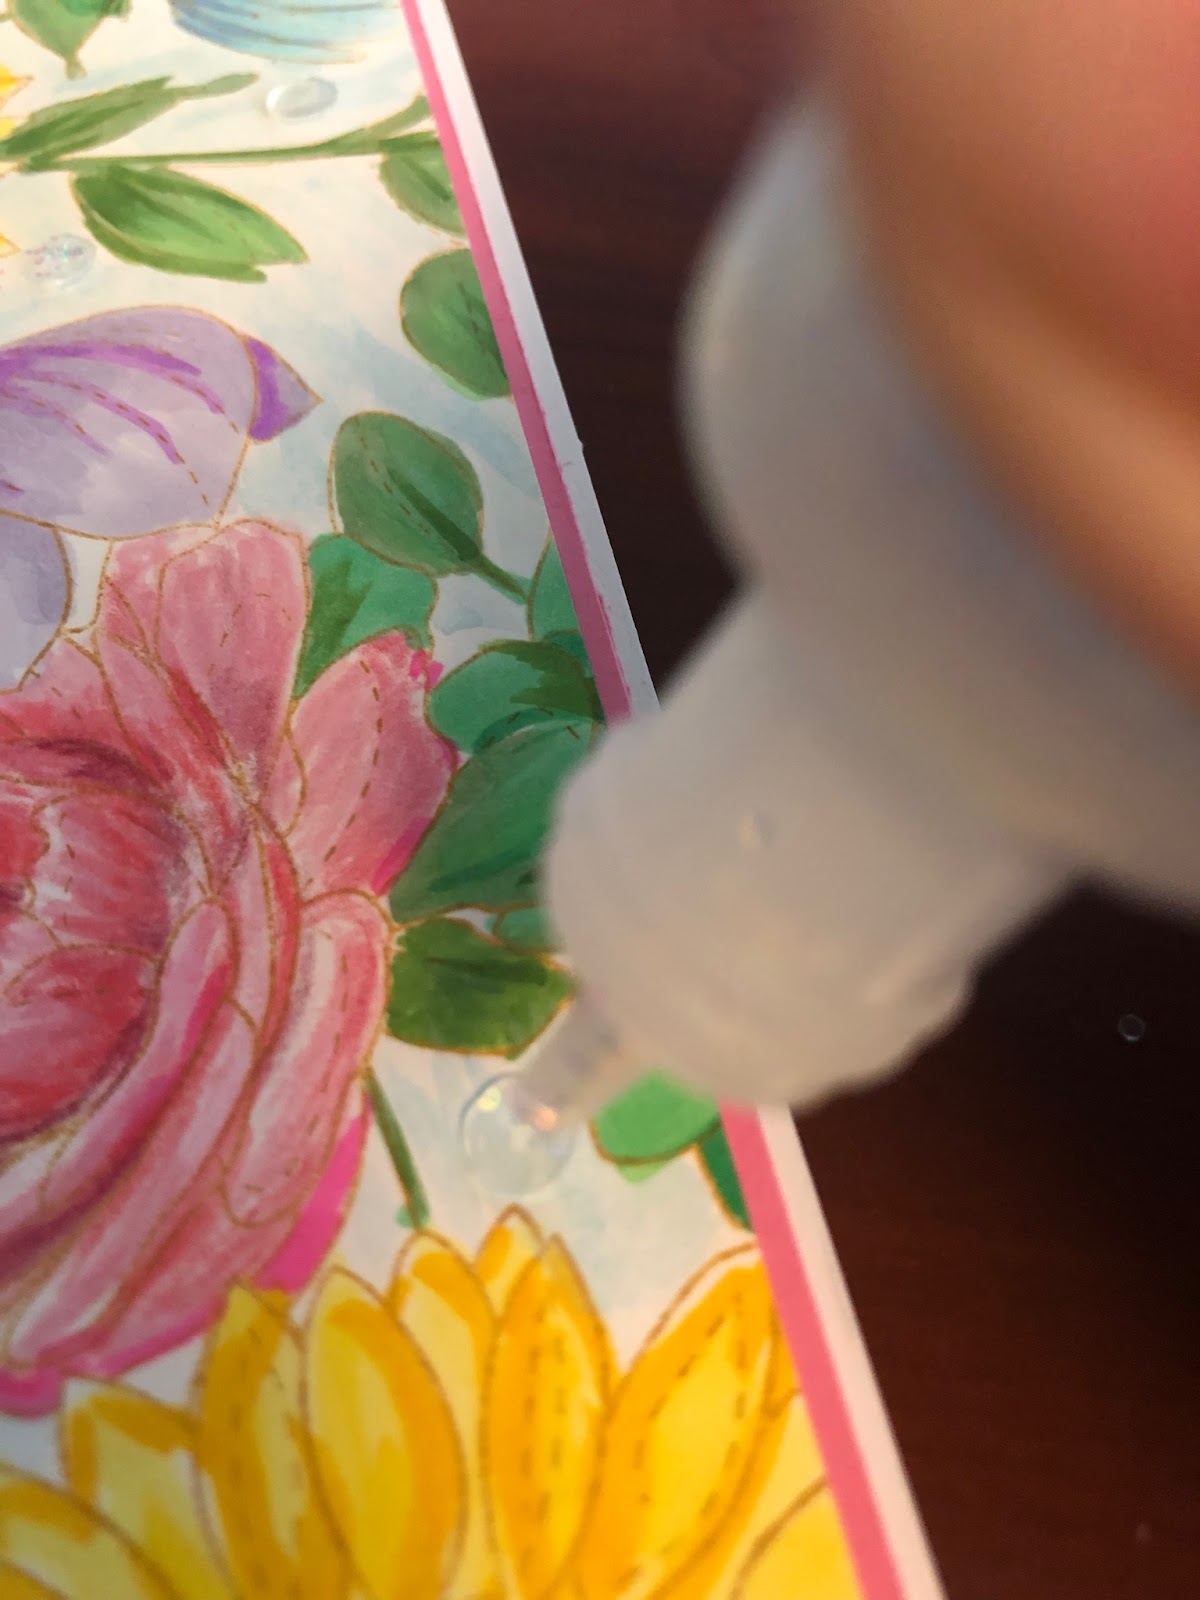
I have a baggie full of clear sequins, they never look right on a card, they just don't show up. Here I glued a plain sequin on my card. YAWN. So I took some Icicle Stickles and place a small dot in the center of the sequin. Just the right amount of glitter and shine.
It's hard to see in the photo but it looks nice, just a little sparkle.
I'd love to read a comment if you'd like to leave one!

Tuesday, July 16, 2019

Penny Black Dahlia on Distress Oxide Background

 I stamped the Penny Black Dahlia on watercolor paper with Memento Tuxedo Black ink 2x and the small dahlia stamp 1x. I fussy cut the centers of each of these stamps, colored them all in and popped the these center pieces to give the stamp some dimension. The stem is a die cut from Sizzix Wildflower Stems  2. The "thanks" sentiment is from Walter and Winnie, cut and stacked 3x. The Distress Oxide ink background is  in Tumbled Glass, Faded Denim and Wilted Violet. I misted the background with water and used a towel to blot to leave the color variations. The dots are white Enamel Accents.
Here is how I like to color my images. I use Faber-Castell Polychromos colored pencils, in 3 shades of purple. I randomly color in the petals, using each of the 3 colors. Here is what it looks like after I'm done using the colored pencils. You can see the pencil strokes if you look closely.
At this point I usually use a Copic Marker to blend the colors, using a light shade. I liked the way RV02 (Sugared Almond Pink) looked over the pencil. 
After die cutting the stem, I used watercolors to color and shade the stem. I wove the bottom of the stem through the word, THANKS. I feel like that little bit makes the card look more interesting, just as popping the center of the flower does. I hope you like it...I hope someone is reading this:)


Monday, July 8, 2019

3 ways for Altenew Dainty Blooms Cover Die

The 2 cards on theleft were created using alcohol ink outlines.I diecut the fuschia background. (The one on the right I went over on my last post.)
Then painted the flowers.
I took the green background, and attached a diecut made from gold cardstock. I saved all the pieces from the fuchsia background and glued and inserted them where the petals should be, like a puzzle


 . I left the leaves and background green. I attached this to a green mat and attached it to a white card.

Wednesday, July 3, 2019

Altenew Dainty Blooms Cover Die


When I saw this Altenew Dainty Blooms Cover Die, I knew I had to have it. It's so pretty and I know I'll use it for a ton of cards. The Altenew July challenge has these beautiful colors.

                                   http://altenewblog.com/July-2019-Inspiration-Challenge

/
I'm new to this blogging so I forgot to take step by step pics. This card is pretty straightforward. I took a piece of watercolor paper and used a paintbrush to put water on it. Then I took the 3 watercolors I wanted to use and put them on my glass mat and smooshed the paper into the paint. I decided I wanted more paint on the paper so I used my paintbrush to loosely add more.

I then die cut the Dainty Blooms Cover Die in white, matted it in green and glued it all to a white 5x6.5" card. I added a few gems to the flower centers to add a little color.

Saturday, June 29, 2019

Flowers in a Planter Box


For Valentine's Day I made a folding mailbox with love letters popping out of it. When I saw a wooden planter with flowers popping out of it on Pinterest, I knew I could use the mailbox as a pattern.

I used a piece of kraft cardstock, cut to 3.5" x 10.5"
Score on the longside at 2.5", 5", 7.5", and 10".

For the box inserts, (2) pieces of cardstock cut to 3/4" x 3.5"
Score on the longside at 1/2" and 3"
Fold at each score line.

I took a mini cube of Distress ink in Ground Espresso and dragged it over the kraft cardstock, at some points pulling it back to make it look like woodgrain.
I used a ruler to add lines (every 1/2 inch) with a marker to make it look like wood planks.


I then took a rectangle die and taped it to the bottom of the paper to make "legs". I ran it through on each side and at the top. See 1st photo. After diecutting, I applied glue to the 1/2" tab to form the box.

I then cut various leaves and flowers using Sizzix/Tim Holtz "Garden Greens" and Funky Floral #3. I stamped and fussy cut a small butterfly. I glued all these pieces onto the Box Insert pieces and attached to the inside of the box.
This box fits into an envelope!
I hope this explanation is clear...I'm new to this. Leave a message for me if you try it! Thanks!

Monday, June 24, 2019

Coloring Altenew Wallpaper Art

I really love this stamp set. I decided to use purple today, inked it up in 2 ways. The first time I pressed the stamp into the ink and stamped it on watercolor paper. I thought the outline looked a bit dark but decided to use it anyway. I put some distress ink on my glass mat and sprayed a bit of water on it to use it like watercolors. 


I tried 2nd generation stamping to get a lighter outline and painted again.

I used Copic Markers to add some detail, starting inward and moving out for petal shape.
I usedthe darkest purple shade to add depth   


Saturday, June 22, 2019

Altenew Wallpaper Art


I won the Altenew Instagram blog hop for a $15 giftcard. I bought this gorgeous Wallpaper Art Stamp. I forgot how nice their stamps are, great quality. I love this image, decided to do the 30 day color challenge a lot of cardmakers on Instagram are taking part in. This took a awhile, I used Polychromos colored pencils at first and then decided I liked the look of coloring over that with a very light Copic. It added a bit of depth.


I originally was going to just matt this onto a red card but then I dropped my marker and made a little mark on the paper which drove me crazy so I decided to fussy cut this image and glue it onto an embossed piece of paper I had on my desk. It forced me to work a little harder;) Also note, I used the backside of the embossed paper, I liked the recessed side better for this.

Altenew Wallpaper Art Stamps
Crafter's Companion Embossing Folder (I don't know the name)
Copic Marker R81 Rose Pink
Faber Castell Polychromos pencils (36 piece set)


Sunday, June 16, 2019

Gerbera Daisy Card

I bought this Simon Says Stamp background stamp and really use it as a focal point not as a background. So I’m challenging myself to use this in different ways. I stamped it with Memento ink using my trusty Tim Holtz stamping platform. The stamp is large so I want to be sure I get all of it on the cardstock. Nothing worse than missing an area.
After I stamped it I colored it with Polychromos pencils and smoothed out the color with Gamsol. The white dots were added with a white opaque marker by Recollections, I love the chalky look of this marker. A bit of Wink of Stella on the leaves I colored was added. I fussy cut the edge of the stamp and cut it to fit a 5x6.5 card after gluing it to a blue panel. 
I keep a bunch of scraps in a file drawer in my desk so I can try out different background colors, handy to organize by color.